Roasting and baking both rely on dry heat and circulating hot air inside the oven to prepare food. When comparing these two oven settings, temperature is the primary distinction. Large cuts of meat and dense vegetables are usually roasted at temperatures around 400°F or higher. In contrast, baking recipes such as breads, pies, and casseroles generally call for temperatures around 350°F or lower.
It might seem that raising the heat on a baking recipe would shorten the cooking time, but this assumption is usually incorrect. Roasting is not necessarily faster than baking. The method you choose should depend on your ingredients and the result you want. For example, foods that are typically baked may burn on the outside before their centers are fully cooked if they are roasted instead. Conversely, ingredients commonly roasted, such as potatoes or squash, require high heat to become tender throughout while developing a nicely browned, crispy exterior.
To achieve a similar browned, crispy surface on baked items, you can finish the dish under the broiler. Unlike baking and roasting, which surround food with heated air, broiling places food close to the oven’s heating element so the surface can quickly cook, brown, char, or caramelize. Further information about broiling and how to use this technique is available for those who wish to learn more.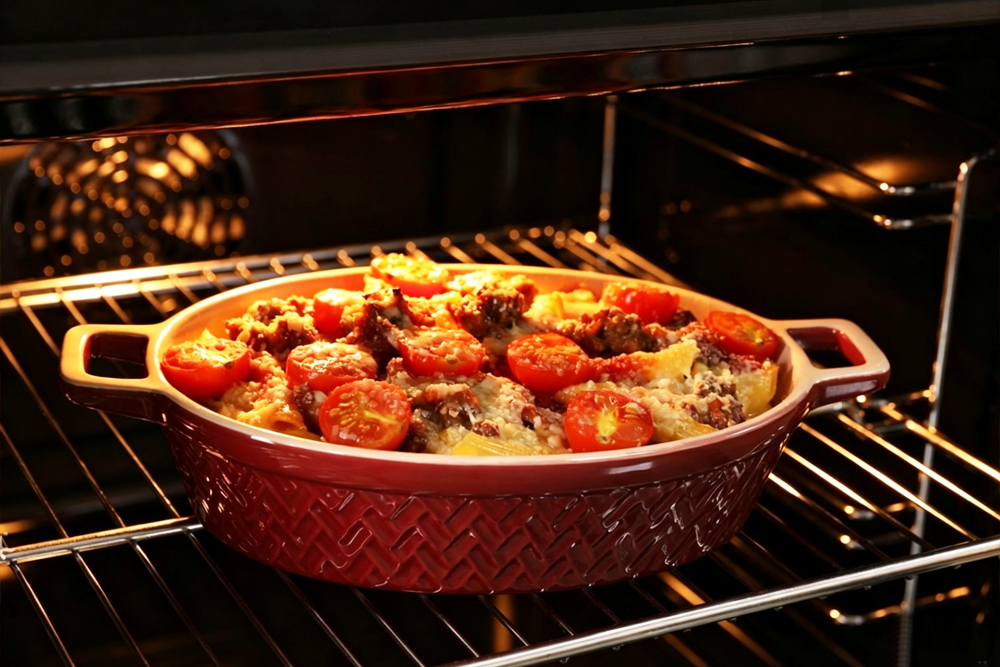
The main distinction between these two settings comes down to temperature. Roasting uses higher heat, while baking relies on lower heat. Both modes activate an additional heating element and a fan that moves hot air throughout the oven cavity, helping to maintain steady, optimal temperatures.
Beyond temperature, convection settings provide further advantages for both roasting and baking. The circulating air helps pull excess moisture away from the surface of food, which encourages crispy skin on roasted meats, caramelized edges on roasted vegetables, and a flaky texture in baked goods. When roasting or baking on multiple racks, convection settings also help deliver more consistent results from one dish to another.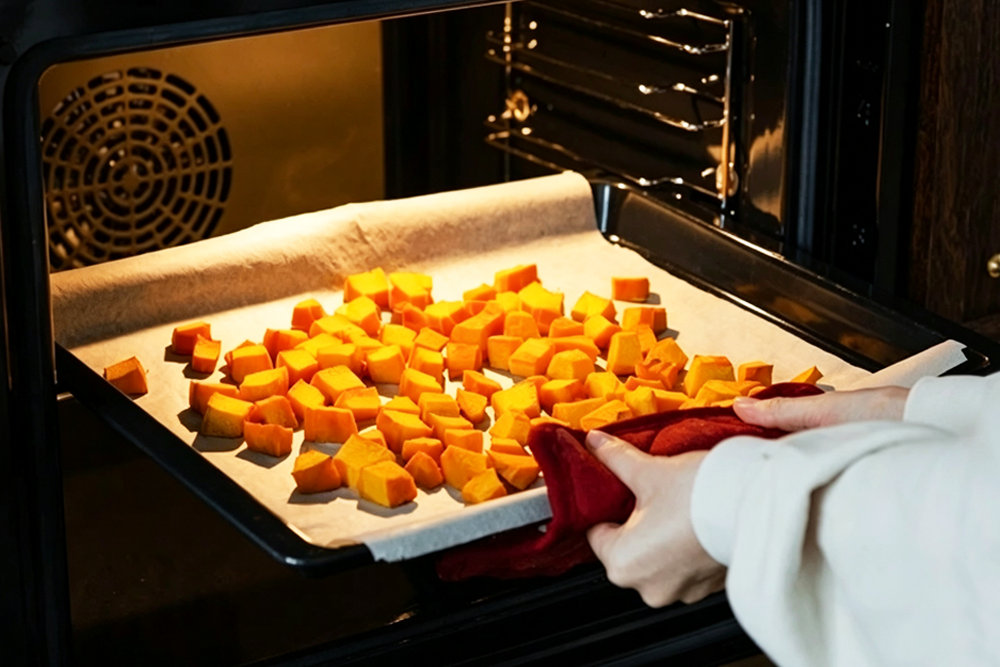
For a turkey with juicy meat and golden, crispy skin, combining baking and roasting may be the best approach. One method is to preheat the oven to 450°F, then immediately reduce the temperature to 350°F (or 325°F for a larger bird). This allows the turkey to benefit from high-heat roasting at the start while avoiding dryness. Another popular technique is cooking at a low temperature (around 325°F) without basting or opening the oven door, which helps reduce temperature fluctuations. You can also learn more about different oven settings with our guide.
In some convection ovens, a convection roast cycle is designed to promote browning and maintain high temperatures throughout roasting, which may also help reduce cook times. This is a useful setting for busy holidays when you have multiple dishes to prepare.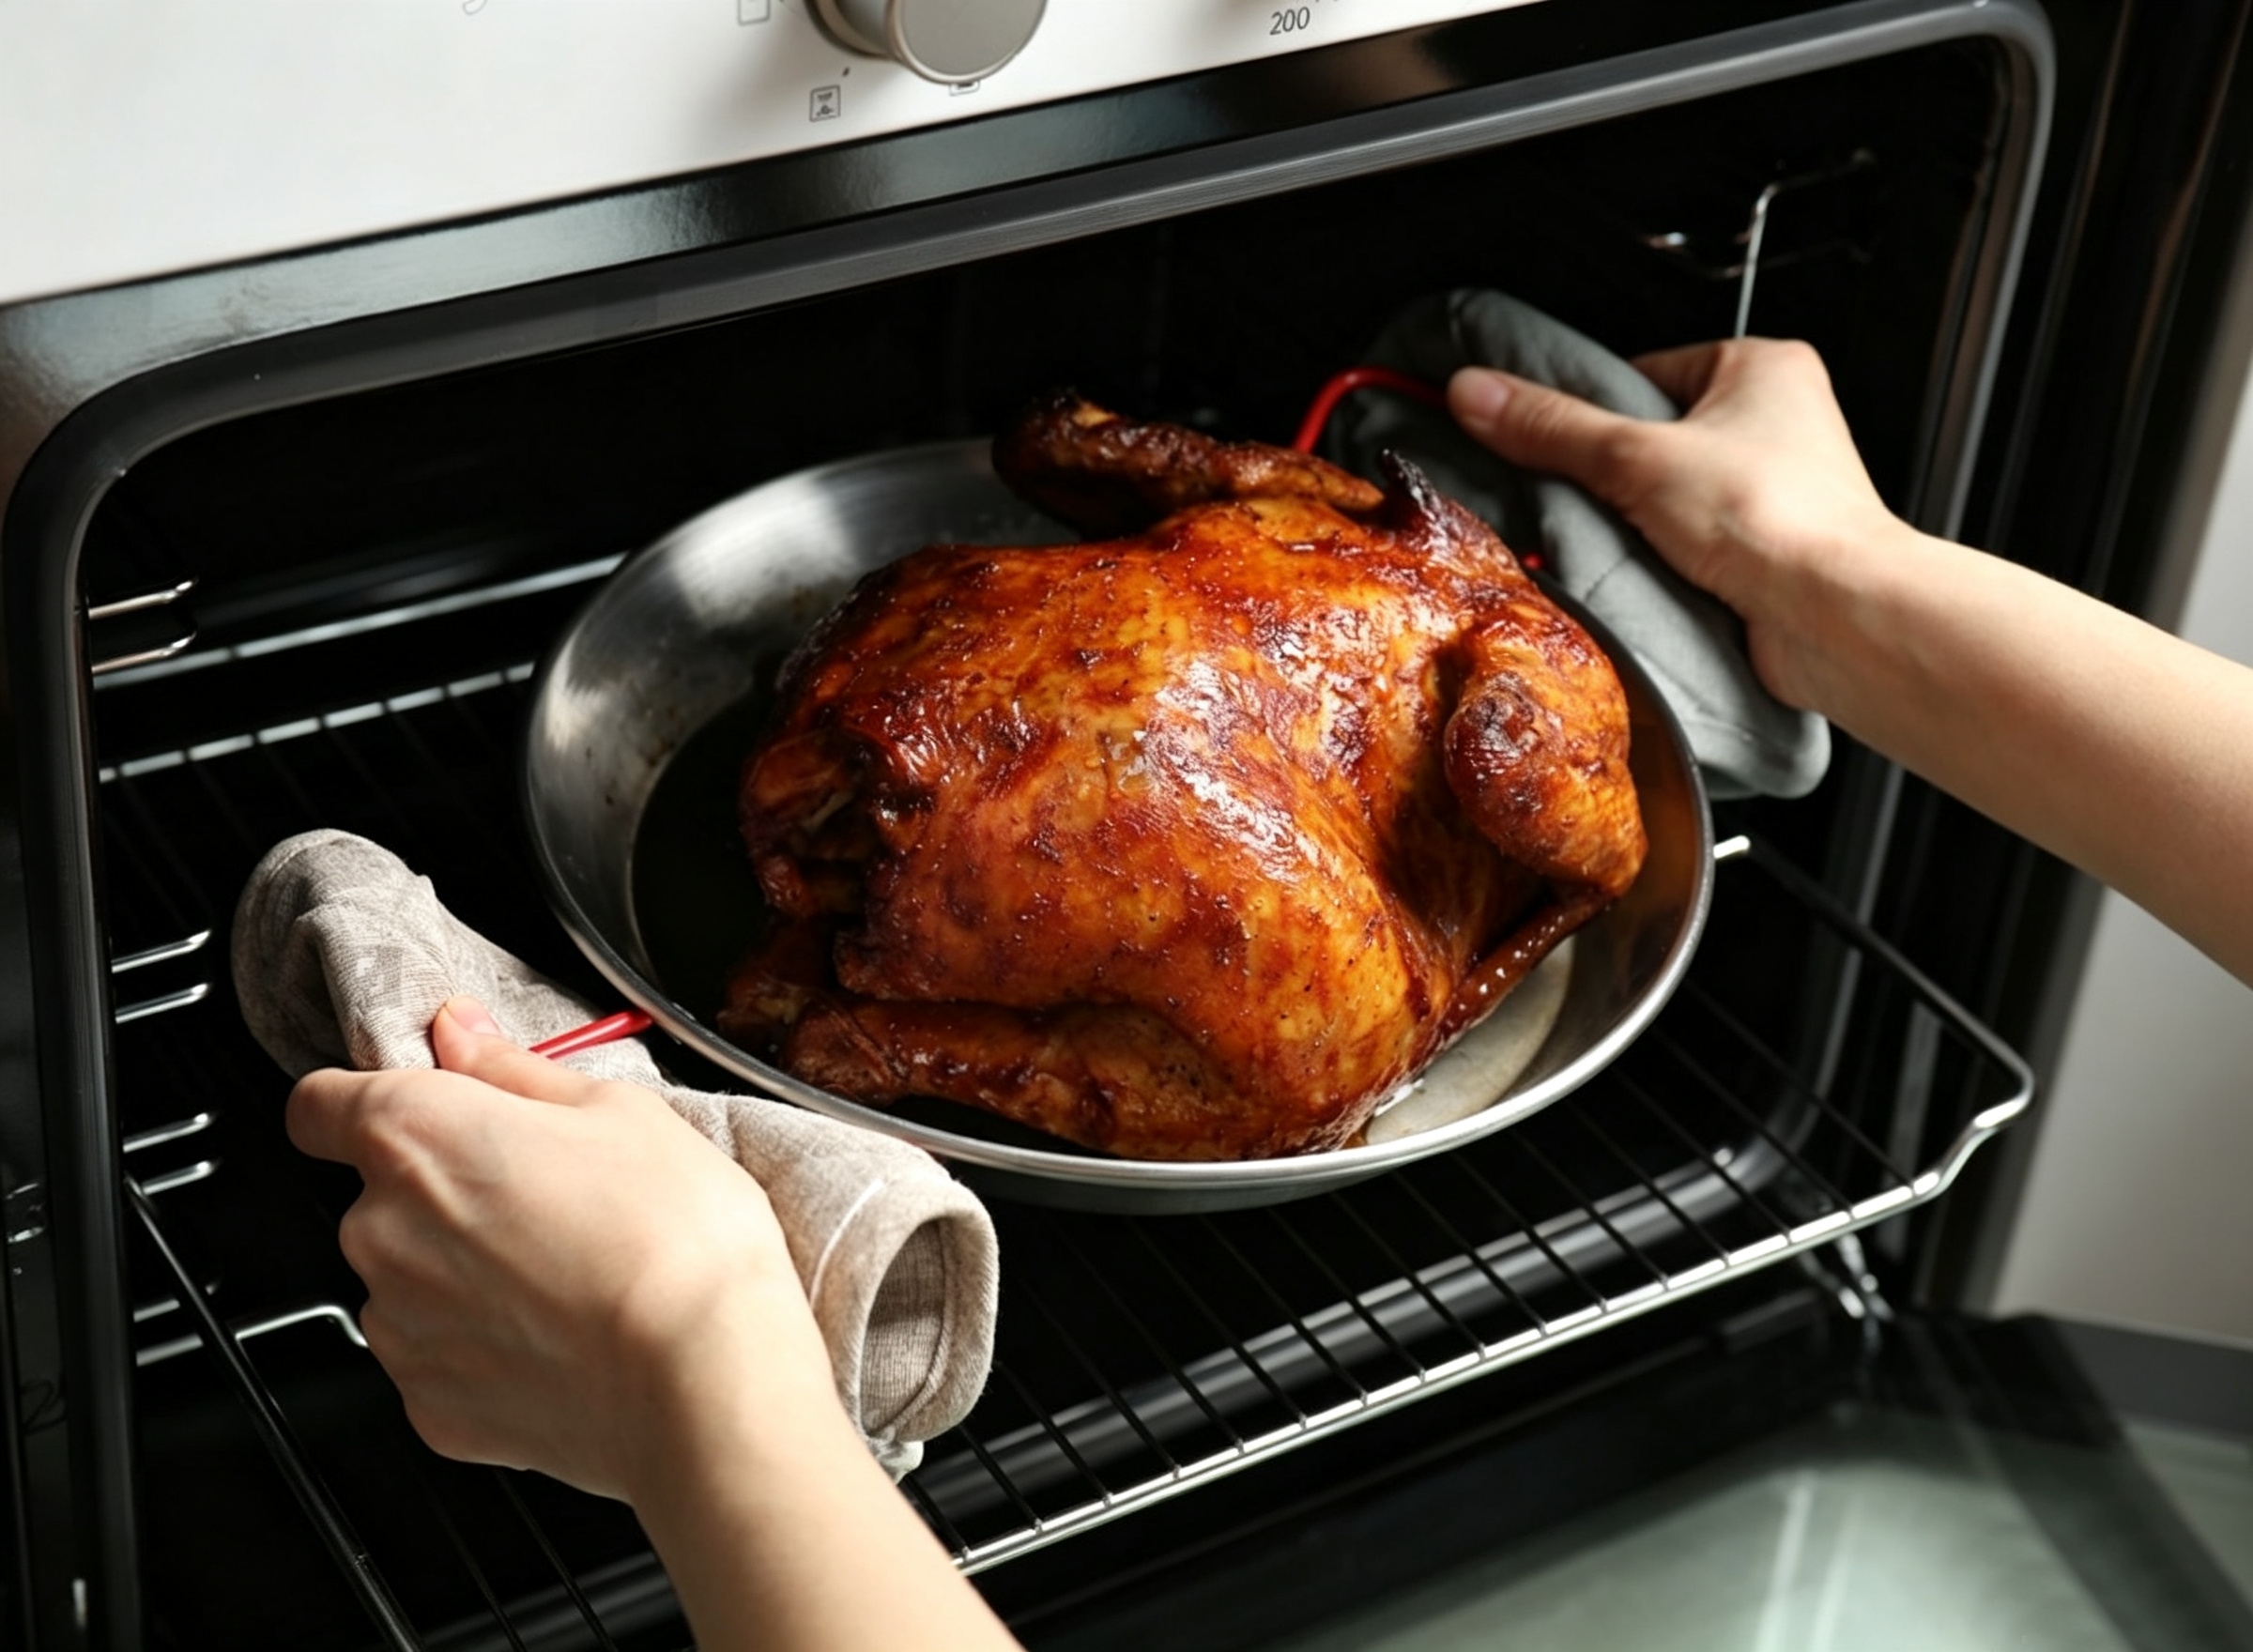
Roasting can bring depth to almost any dish, creating complex textures and flavors in meats, vegetables, and even fruit. Follow these roasting tips to get excellent results with a variety of family-favorite recipes.
Step 1: Set the oven temperature according to your recipe
Roasting temperatures vary. They may begin low and slow or start high, depending on the recipe and ingredients. A useful general rule is to begin with high heat for large cuts of meat, then lower the temperature so the exterior does not overcook before the interior is done. Smaller cuts of meat and most vegetables can also be roasted at higher temperatures.
Step 2: Prepare and arrange ingredients in a pan
A roasting pan with low sides and a sturdy build helps heat circulate more evenly through the food. A rack placed inside the pan lifts items above fatty drippings produced during cooking. For large items such as whole chickens or turkeys, the bottom and lower oven racks are usually best. A center rack works well for roasting vegetables. Consult your Use and Care Guide for ideal rack placement, as it can differ by cycle and cavity.
Step 3: Check temperature and baste as directed by your recipe
Use a cooking thermometer to check the internal temperature of meat and confirm doneness. Vegetables are ready when they are fork-tender and show some browning and texture. If your recipe calls for basting—moistening meat by spooning its juices or marinade over it during cooking—avoid opening the oven too frequently, as this can cause heat loss and uneven cooking due to oven cycling.
Step 4: Take the food out of the oven and let it rest
After the food is done, allow meat to rest for about 10 to 20 minutes before carving. This helps keep the juices inside and allows them to redistribute. You can also learn how to enhance flavor by deglazing the pan to make a sauce.
Cooking Tip: Excellent roasting and baking results can be achieved in either a convection oven or a conventional oven. A convection oven is equipped with a fan—and in some cases a third heating element—that moves hot air throughout the oven cavity, leading to more even heat distribution, better browning and crisping, and faster roasting and baking. Certain models include a third heating element often described as true convection cooking. In contrast, conventional ovens rely on two heating elements to warm the air, and the dish positioned nearest the active element will cook most quickly. To understand more about how these two ovens differ, further reading is available.
Baking relies on moderate heat to cook food thoroughly and form a browned exterior. This method is commonly applied to dishes that lack a fixed structure—such as casseroles, quiche, scalloped potatoes, and lasagna—as well as smaller portions of chicken or fish. It is also an effective way to create surface texture and browning without causing the food to dry out too quickly.
When choosing between roasting and baking for chicken or other meats, the size and cut are key considerations. A whole chicken or ham is generally better suited to roasting, while smaller, boneless cuts with less fat—such as chicken breasts or pork chops—are more appropriate for baking.
Baking often serves as the foundation of countless family dinners and desserts. With the following baking guidelines, you can soon have everyone gathered around the table.
Step 1: Preheat the Oven According to Your Recipe
Never place food inside until the oven has finished preheating completely. A preheat cycle can only produce the intended results when it is allowed to run fully. Always check your recipe’s timing to avoid undercooking or overcooking the food.
Step 2: Choose an Appropriate Baking Dish
For best results, use a baking sheet or casserole dish, ideally placed on the center rack. Consult your Use and Care Guide for the best rack position, as it may differ by cycle and oven cavity. To help food brown without collecting too much moisture, select dishes with a shallow depth. Keep in mind that dark, dull, non‑stick, or glass pans may require shorter baking times, while insulated or stainless steel pans may need longer.
Step 3: Cover or Uncover the Food as Needed
Although baked foods are often left uncovered, your recipe may call for temporary covering with a lid or aluminum foil to retain moisture before browning. Items such as lasagna and casseroles frequently start covered to prevent drying, then are uncovered toward the end of baking to develop a browned surface.
Step 4: Check the Temperature and Browning
Use a cooking thermometer to verify the internal temperature of meats before removing them from the oven. For casseroles and pasta dishes, watch for a crispy top and bubbling around the edges to help judge doneness.
elecontro® has specialized in kitchen appliance control for over 20 years, offering a range of functional oven timers and customizing them to suit your specific needs and preferences. Our team of innovative engineers and designers remains at the cutting edge of kitchen appliance control technology.